Welcome to MechMinds Project Site
Where Robotics Sparks Future Innovators!

The objective of this project is to enhance the performance of low-range sensors to achieve cost savings and empower robots with increased capabilities. The focus is on optimizing the results of these components and exploring the manipulation of machine code to develop a more advanced solution. The ultimate goal is to create an efficient and economical system for robot localization and mapping in suitable or various environments.
As an ongoing initiative leading up to the final submission, we are actively engaged in enhancing the core functionalities of a line-following robot. The primary focus remains on elevating mapping capabilities through the optimization of the robot's configuration. Our efforts extend to refining control mechanisms, aiming to impart greater agility and smoother movement, thereby enhancing balance and rigidity, especially in challenging environments. This iterative process aims not only to improve the efficiency and precision of 1mm indoor mapping but also to concurrently reduce costs.
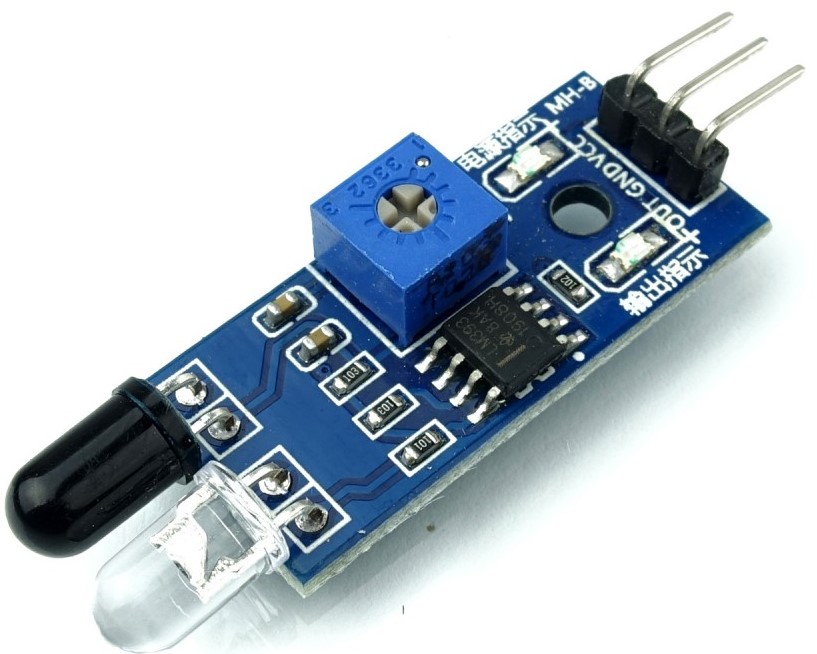
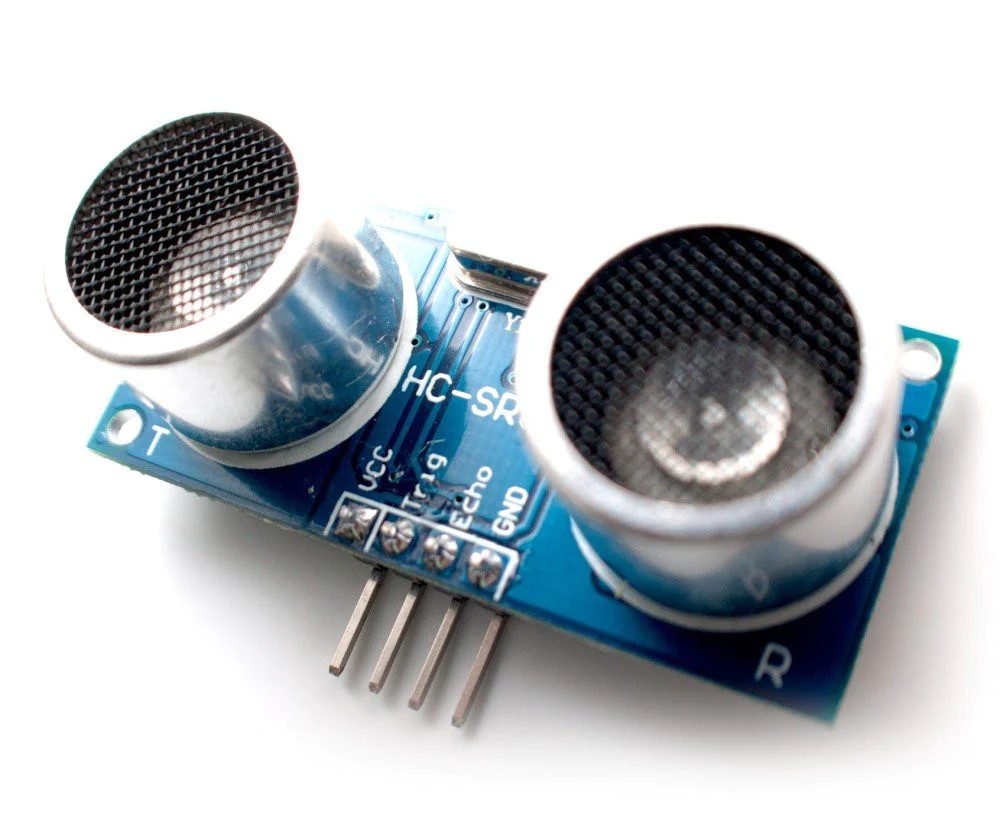
The Autonomous Robot Localization and Mapping Project embodies a dynamic systems approach, leveraging interdisciplinary collaboration and cutting-edge technologies to pioneer advancements in robotics. By integrating low-cost sensors, such as ultrasonic and infrared sensors, with sophisticated hardware components and control systems, the project aims to develop a robust autonomous robot capable of precise localization and mapping in indoor environments.
The project aims to develop a prototype autonomous robot that can accurately localize itself and map indoor environments using low-cost sensors. The objectives follow the SMART criteria: Specific, Measurable, Attainable, Realistic, and Time-bound.
Infrared Sensors
Camera (Optional)
Light-Dependent Resistor (LDR) Sensors
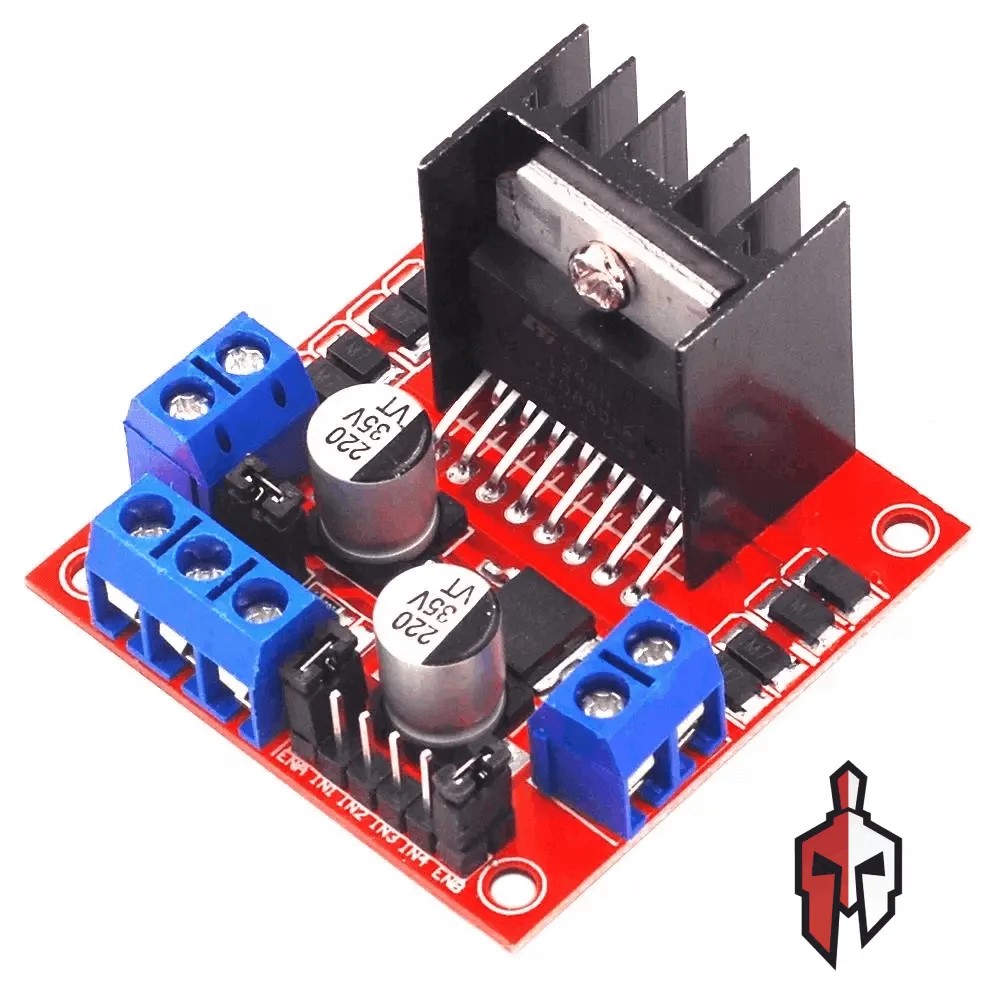
Motor Driver (L298N)
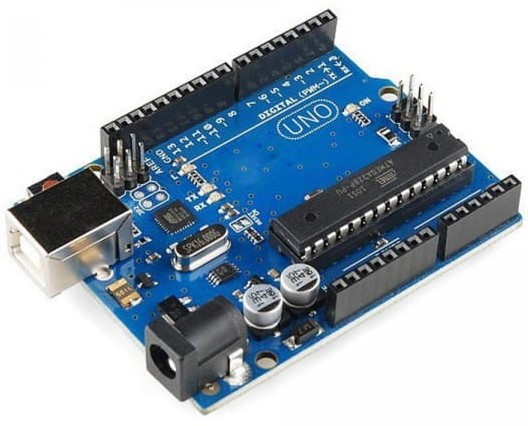
Arduino Microcontroller
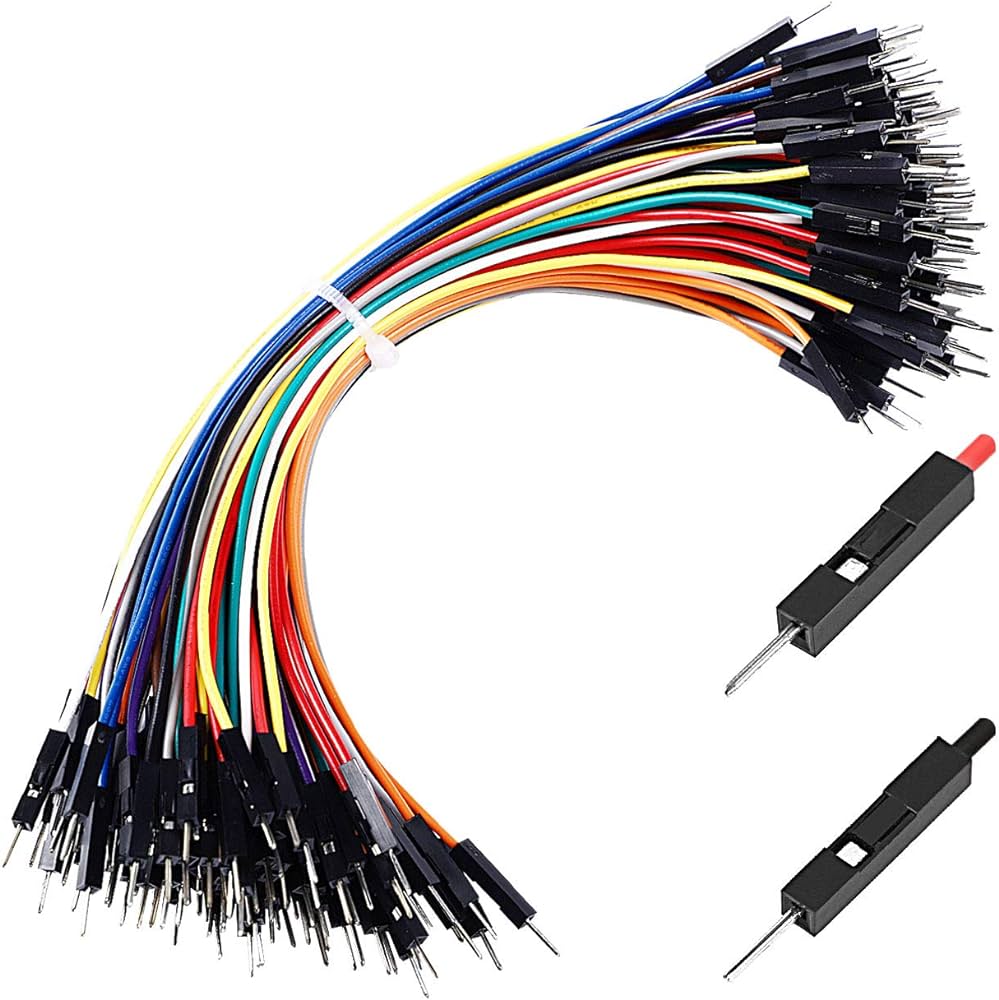
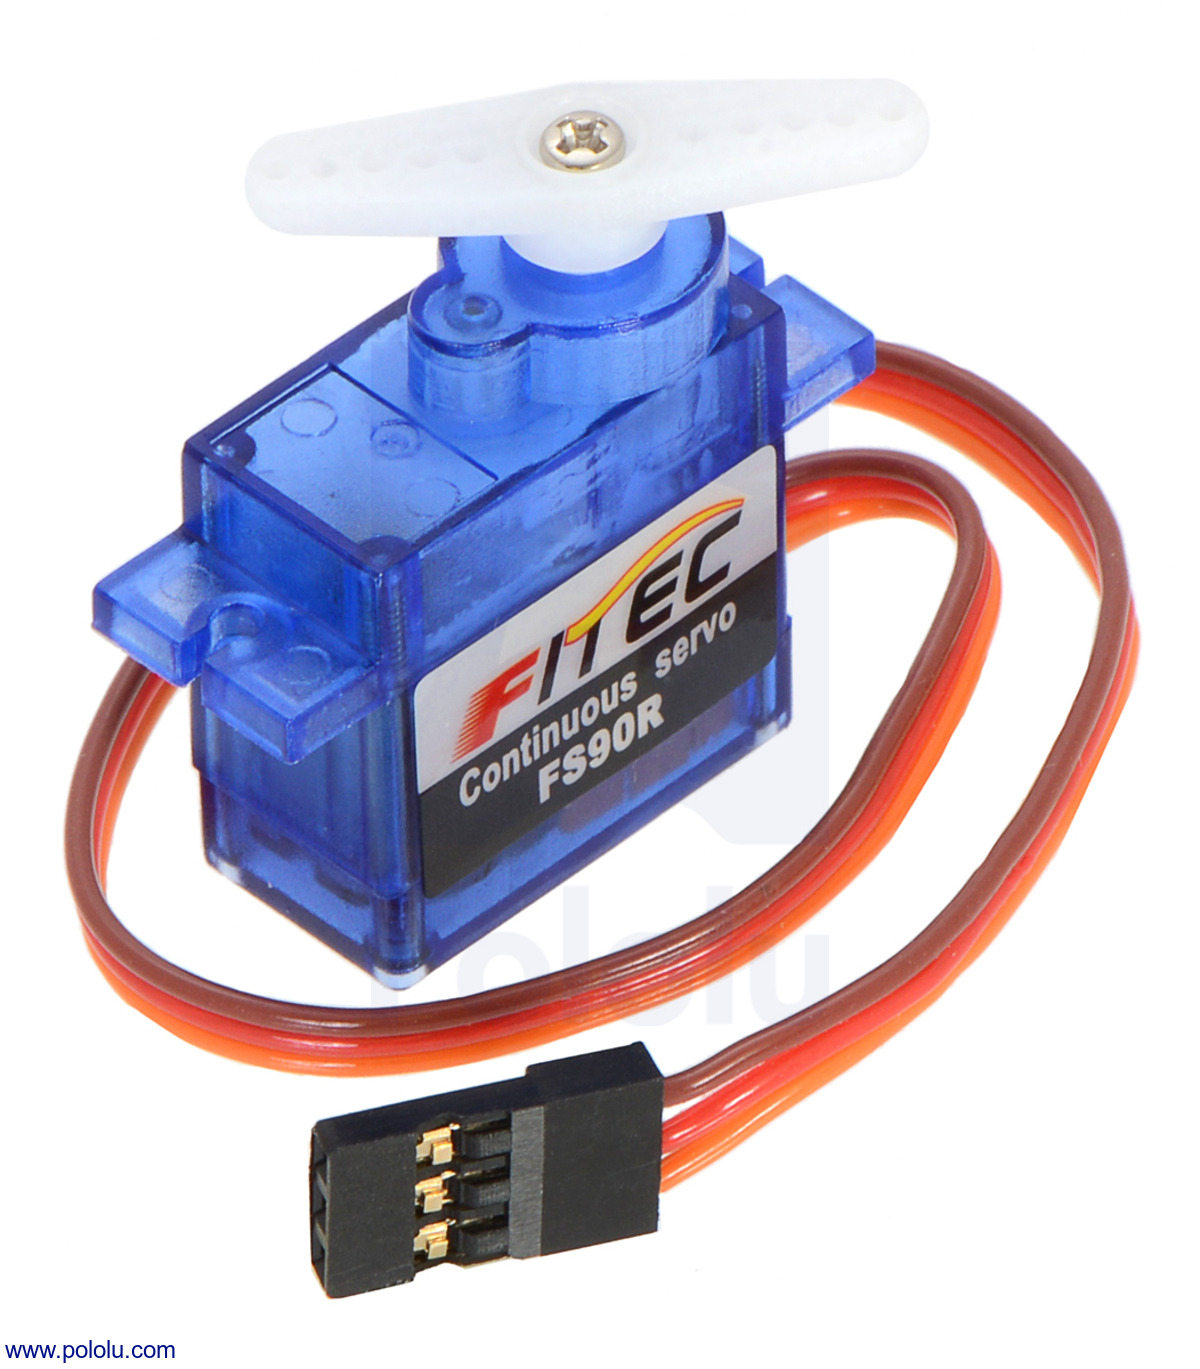
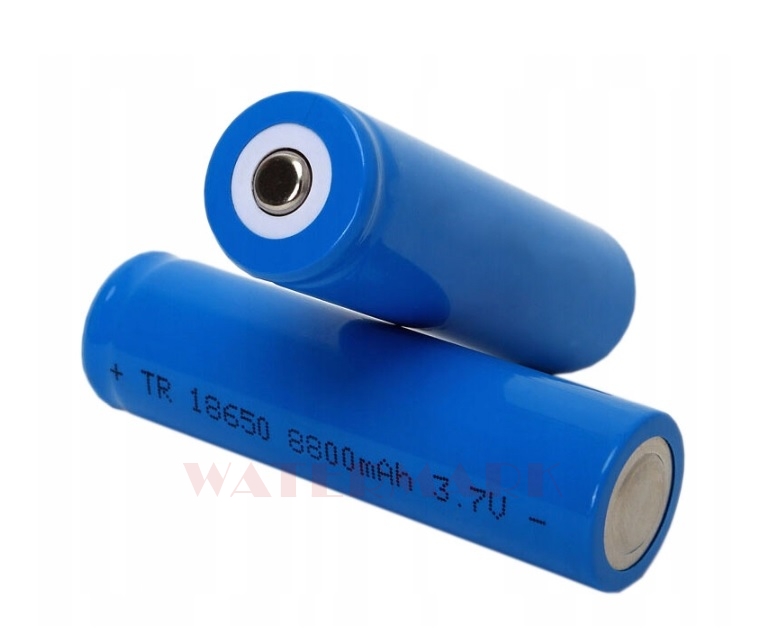
Hardware Components
Power Supply
Discover the power of Arduino IDE and microcontroller capabilities in our projects. Learn how to utilize PWM (Pulse Width Modulation) to accurately manage hardware frequencies, enhancing your creations with improved functionality and efficiency.
In non nisi eget magna efficitur ultricies non quis sapien. Pellentesque tellus.
Aenean bibendum consectetur ex eu porttitor. Pellentesque id ultrices metus.
In non nisi eget magna efficitur ultricies non quis sapien. Pellentesque tellus.
Aenean bibendum consectetur ex eu porttitor. Pellentesque id ultrices metus.
In non nisi eget magna efficitur ultricies non quis sapien. Pellentesque tellus.
Praesent accumsan condimentum arcu, id porttitor est semper nec. Nunc diam lorem.
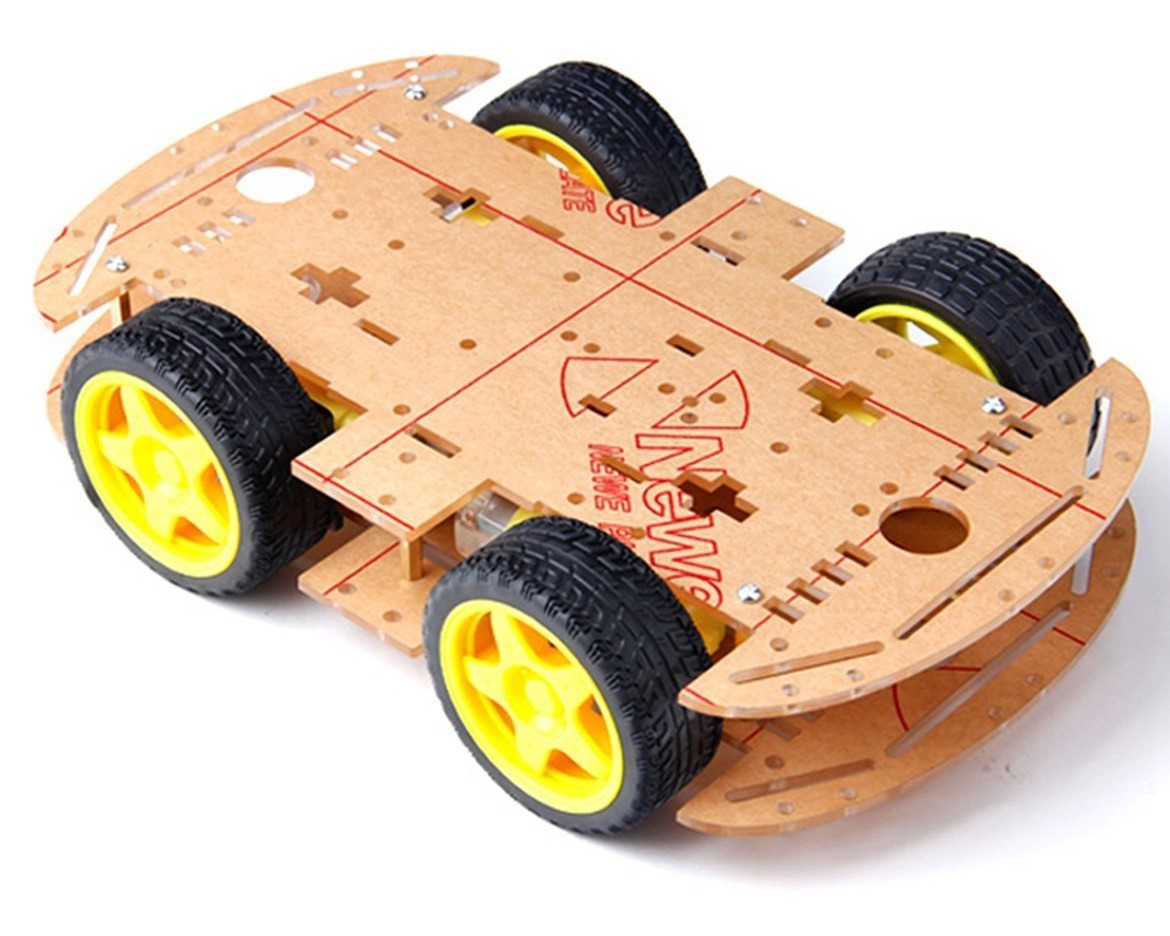
Explore the journey of crafting a Line Following Robot with obstacle detection, based on
SLAM principles, starting from the ground up.

Acquire essential hardware components and Arduino student kits either through online purchases or opt for customized designs utilizing 3D design software like AutoCAD. Tailor your selections to meet specific project requirements, whether integrating grippers for enhanced functionality or deploying multiple sensors for advanced surveillance capabilities. For further customization and optimization, consider utilizing 3D printing technology to produce bespoke parts that perfectly suit your project needs.

In the assembly phase, hardware components are meticulously pieced together to create a fully operational robot. The process involves utilizing common tools such as screwdrivers and soldering irons to ensure precise assembly. For those preferring alternatives to adhesives like glue, custom holding placeholders can be 3D printed to securely house each device as required. For more information on the assembly process or any inquiries regarding this project, please don't hesitate to contact us. We're here to provide further guidance and support as needed. >

Configuring the software for your project involves setting up the Arduino Integrated Development Environment (IDE) and programming the microcontroller to control hardware frequencies using Pulse Width Modulation (PWM). It's essential to write well-documented code following best practices to simplify troubleshooting and streamline the coding process. Dividing the operations of your robot into different functions aids in troubleshooting and facilitates faster and simpler code writing. The Arduino IDE, which requires basic knowledge of C++ or C, offers built-in libraries for common functions. For custom functions, you can create your own library as needed. Additionally, the Arduino website provides real examples to guide integration and communication with hardware during the coding phase.

The testing phase is crucial for practicalizing your code input and fine-tuning it to achieve the desired output. Continuous testing and refinement are necessary to implement development effectively. It's common to encounter challenges such as hardware discrepancies between simulated and actual hardware or updates in hardware versions with bug fixes that may affect previous coding styles. Properly integrating your divided functions facilitates troubleshooting by isolating the processes to determine which functions perform optimally and which ones require further improvement. While testing may seem straightforward, it's time-consuming and requires intense concentration to swiftly progress through your project.

Explore additional features to take your robotics project to the next level. Consider integrating a gripper, camera, Wi-Fi, Bluetooth, or remote control for enhanced functionality and versatility.

Copyright © 2024 MechMinds Co., Ltd. All Rights Reserved.
Design: TemplateMo
Distribution: ThemeWagon